Tag Archives: easy crafts

Thank You for Helping Me Grow

18 May

Teacher Appreciation Week was last week at my children’s school and I am late. There is a lot happening here at SuperMOMdel World Headquarters.  Matter of fact, I have not even posted a Freestyle Friday Craft in more than a month.  Do you forgive me?  Thank you , I need lots of grace!

My children have really great teachers.  Next week, is the last day of school.  Last night, I starting my “Growth” project.  Now here is my disclaimer.  I do have a “supplies” list but as the project progressed it took on a life of its own. I made a lot of adjustments mid way but still want to give you options.
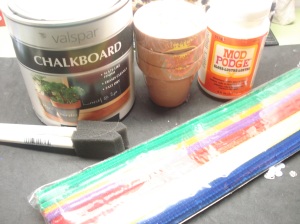
Materials: Chalkboard paint, small flowers pots purchased from The DollarTree, Mod Podge, foam brushes, pipe cleaners, white spoons

Materials: Chalkboard paint, small flowers pots purchased from The DollarTree, Mod Podge, foam brushes, pipe cleaners, white spoons

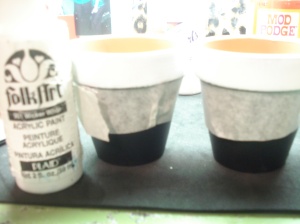
I purchased a set of 3 small flower pots for $1.  I used chalkboard paint I picked up from Lowe’s.  It took about two coats, less than 20 minutes to dry. Around the rim of the flower paint I used white acrylic paint to cover the areas where the chalkboard paint spilled over.

The after picture of both flower pots painted

My 4 year-old daughter says it looks like a flower and that is all that matters. 🙂

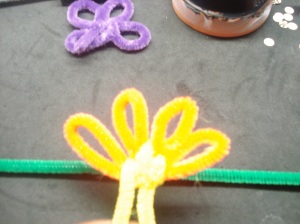
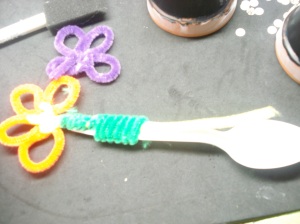
When I started this project I had my own ideas on how to make a flower out of a pipe cleaner. As you can see from the above it came out “ok” but there is a great tutorial online.  Thank God for Google.  You can watch the video here.  I followed the tutorial. It was very easy but I thought the flower would be too busy.

The finished product: Still not sure I am going to use due the size of my flower pot

Now that the flower pots are dried it is time to mix up the “Dirt” pudding for the inside. I first heard about “Dirt” pudding when I was working freelance at a Law Firm. We were having a party for one of our colleagues and wanted something fun. One of the women made this pudding in a bucket and served it with a shovel. Super cute presentation, trust me on this one. Mine is the quick and “dirt(y)”, (no pun intended) version. You can see the “real” recipe below. This would also be very cool at a little boys birthday party.
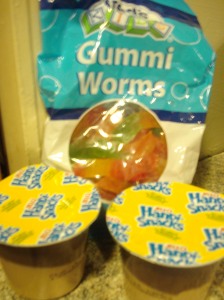
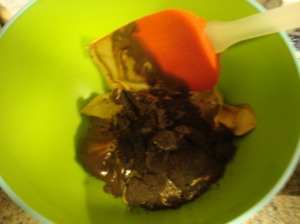
I used store brought pudding but I will mix in chopped up Oreo cookies, everything is better with Oreo cookies, right? And of course you can’t have dirt without worms…gummy worms that is.

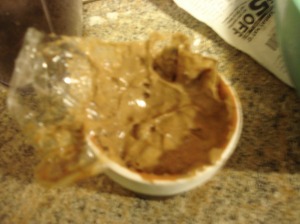
I lined the flower pots with clear wrap, so the teachers can eat right out of it. (Smarty Pants). I filled it with the pudding and cut around the edge to make it look a little cleaner.

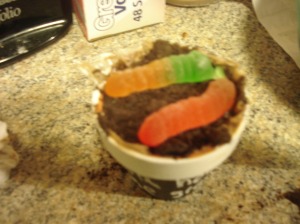
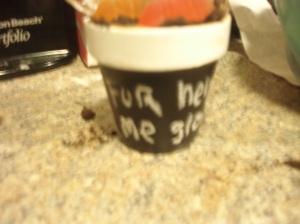
Finally, I covered the top with chopped up Oreo cookies and added two gummy worms. I also work in chalk around the flower-pot: Thank You For Helping Me Grow.

So, what do you think? Is this a good idea?
In His Super Grace
Ro:)
DIRT DESSERT

Lg. flower-pot or sand bucket 2 pkgs. Oreos, crushed 2 pkgs. French vanilla instant pudding with 3 1/2 c. milk 12 oz. Cool Whip, thawed 8 oz. pkg. cream cheese 1 c. powdered sugar 1 tsp. vanilla
You want to make sure the cream cheese and Cool Whip are really soft, makes it easier to mix. Also, note the mixture stays fluffiest if instead of mixing the cream cheese mixture in with the pudding, you fold it in.  And you can use more Oreos than called for.
Mix Cool Whip, powdered sugar, vanilla, softened cream cheese; mix pudding mixture separately and then add to other mixture. Use foil in bottom of clay pot. Layer Oreos, then pudding mixture, ending with Oreos on the top. Plant with artificial flowers and gummy worms. Serve with sand shovel.

Freestyle Friday: Get Yo’ Craft On!

18 Nov

 Today, we are repurposing an old t-shirt and turning it into art.  I had this really great Christian t-shirt.  Unfortunately, like most mothers I was wearing it while doing the laundry and you guessed it, I got bleach over it.  However, I refused to throw it away with hopes I could do something really cool with it.  Well, I found a great use for using the graphic from my bleached out shirt and turned it into artwork for my home office/bead room.  By the way, this is totally super easy to do. 

Here is my shirt. I loved the “Heiress” and Roman’s 8:17 scripture. I felt like royalty in this shirt. 

My "bleached out" shirt, hole and all.

This is the list of supplies: 8×10 Canvas, I scored this one at Michaels when they had the buy one get one for a penny.  Mod Podge, my favorite craft supply, the Mod Podge rolling-pin(a must), matching acyclic paint in gold and silver or any color of your choice and tacky glue.

The "royal" court

 The first thing I cut out the design on the shirt and then I used these color acrylic paint which I got on a super deal again at Michaels.

I poured out the paint on a paper plate and pulled out the canvas to paint.

I used an old (dry) dish cloth, first using the gold paint  in a dapping technique on the canvas. Make sure to not use too much paint.

This is the finished product.  I really like the hint of white that stills shows through. It almost looks like an “antique.”  I used the same technique as above with a pewter silver color to go over the gold parts. It was a great addition.

Now you want to take your t-shirt and measure it on the canvas. You can make it wrap around or cut it exact.  I cut it directly around the letters however, I think next time I do this I will just cut around the words.

Take a liberal amount of Tacky Glue and coat the area where you will place the shirt.

Take a rolling-pin like the one Mod Podge sells and roll out all ceases or dents in the shirt. I love this little tool. A great investment.

Roll Baby, Roll!

Once it dries which will be about 15-20 minutes. I pulled back out my old (dry) dish cloth and added some more acrylic paint.

Final touch which is my favorite part. I really like Mod Podge. This stuff is like a crafters drug of choice. (Just Say Yes!) Take a black sponge brush, you can find these in the art department rather cheap at any craft store. Dip in the Mod Podge, I used the Gloss which is a glue and sealant all in one. Brush across shirt area and canvas.  I let this dry overnight, you don’t have to but it was late at night and I had to get to bed.

The Final Touch: Viola! You have just taken a shirt and repurposed it into artwork. You’ll think twice now before throwing them away now won’t you?